Foundation on Mature Skin: How to Avoid That Dry, Cakey Look
By Gina “Jet” Ortiz
Have you ever wondered why your wrinkles and pores look more prominent after you’ve applied your makeup? Do you think makeup makes you look older? If you’ve answered “yes” to either of these questions, then it’s not your imagination. This phenomena is a thorn in the side of both makeup artists and mature makeup wearers alike. So why does it happen? I’ll give you a hint: it’s not your foundation.
Everyone knows that we must set our foundation with powder to make it stay put. Otherwise, it will just seem to “melt off,” right? Powder is a necessary component, or shall we say “part two” of a two-part process, and to skip it would render our foundation “vulnerable” to shifting, creasing, transferring, and just coming off too quickly. Setting it with powder keeps it in place and makes it durable. It also significantly enhances the appearance of texture and wrinkles. It’s a trade off and not a friendly one, if you ask me.
So then what are we supposed to do in this predicament?
Well, you must start with asking yourself these questions:
Which is more important to you: minimizing wrinkles or doing less makeup maintenance? Are you willing to check on and touch up your makeup more often in exchange for knowing that your wrinkles are much less noticeable? Are you willing to “baby” your makeup by being careful not to touch it or let it come into contact with anything? Are you willing to sacrifice durability in exchange for looking fresh?
Have no fear, there are a few things you can do to ensure that your foundation will stay put without setting it with powder. However, you must bear in mind that none of these options are as reliable as setting with powder and will still demand some level of maintenance.
- Switch to a foundation that doesn’t require as much powder, if any, to set it.
- Use a setting spray with your regular foundation instead of powder.
- Use your regular foundation and your regular powder but just don’t use the powder in certain areas.
- Use setting spray instead of powder in certain areas and nothing at all in the most textured (wrinkled) areas.
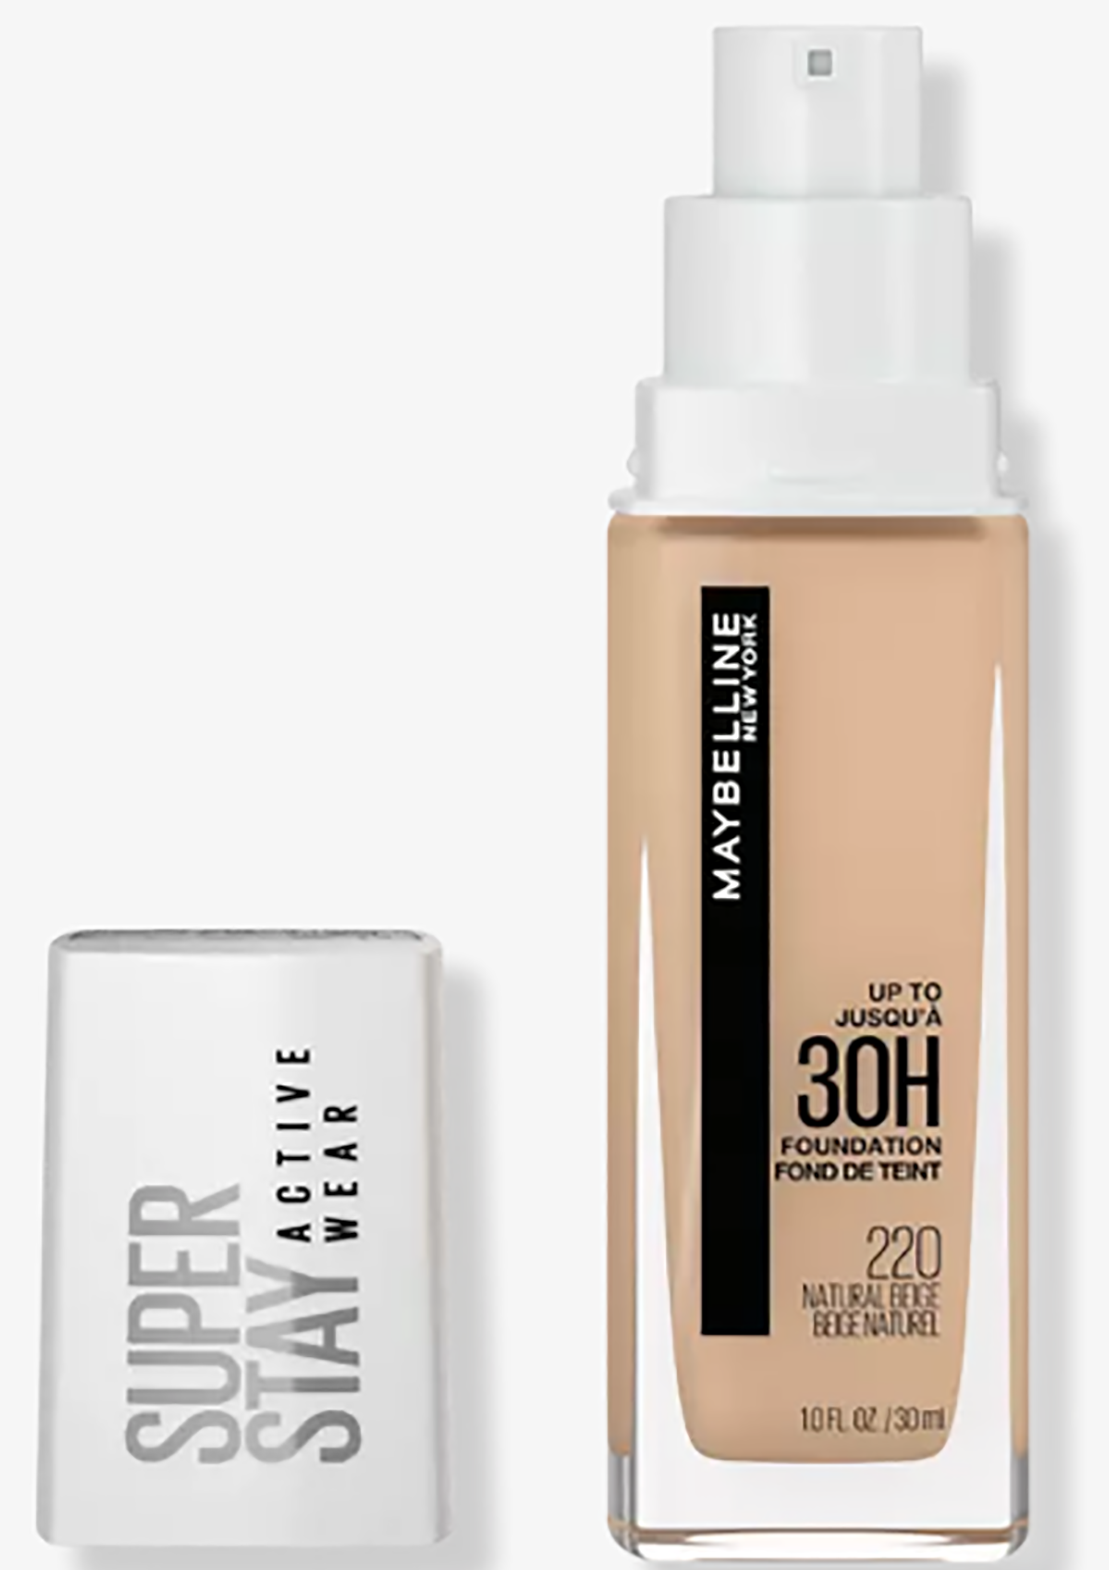 Option One: Switching to a foundation that requires less “setting” is a great way to get around the powder rule. Some brands have developed products with this problem in mind and they’re wonderful, but they do have their own drawbacks. Like any foundation that is not set with powder, it will be more vulnerable to breaking down sooner, shifting, and creasing. Some may even feel tacky to the touch but will look much less textured than if you used powder to set it. I have tested two brands that held up pretty well and required very little touching up, and they are Maybelline’s Super Stay Longwear Liquid Foundation and Revolution Beauty Conceal and Define Liquid Foundation. You’ll apply the foundation as you normally would, but you’ll skip the powder and commit to checking it for creasing over the course of the day. You must allow the foundation to dry completely before proceeding with the rest of your makeup. If you do notice some creasing around the eye area, simply tap the area with a finger to re-blend it.
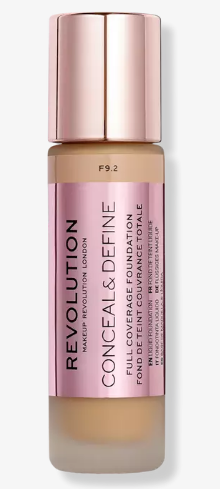 Option Two: Using a setting spray in place of powder is also a great way to get around the powder rule, but it has its drawbacks too. The main one is that it can leave your skin feeling “tacky” to the touch which can be a pain in the neck for some people. It’s also not a guarantee that your foundation won’t crease or transfer, but it does significantly reduce the appearance of wrinkles compared to setting powder and it can also make your skin look very dewy and hydrated. I like this technique since I don’t mind having to check my makeup every couple hours (more if you’re in hot temperatures) and touch up when needed. To use this method, you’ll apply your foundation as you normally would but instead of setting it with powder, you’ll spray the setting spray all over the face after the foundation has fully dried (don’t soak! Three or four pumps will suffice). Then you’ll spray the setting spray onto a pre-moistened foundation blending sponge and stipple all over the entire surface again with the sponge. You may or may not have already used one of these to apply your foundation, and if not, this is a good reason to start. My favorite sponge is the Beauty Blender, but due to their price, I recommend the very similar and more affordable Real Techniques Miracle Complexion Sponge. After you’ve allowed the foundation and setting spray to dry completely, you may continue with the rest of your makeup. Bring a compact mirror with you because you will likely need to check up on your makeup. If you do see creasing around the eye area, just tap the area with your finger to re-blend.
Option Three: This one is a bit trickier since I’m making a blind recommendation without seeing your skin up close. Please bear this in mind as I cannot guarantee this method without knowing where you should powder and where you should not powder. I use this technique on specific clients after I’ve assessed their skin and have asked them about their activities for the day. You’ll apply your foundation as you usually do and only powder the areas with the least amount of texture or wrinkles. For instance, my skin is generally pretty smooth but I have wrinkles directly under my eyes. I powder my whole face but I skip the under-eye area completely and dab a tiny bit of setting spray onto my fingertip and lightly tap it onto my under-eye area and let it dry. However, if my client has deep crow’s feet then I’ll avoid powdering that area altogether and set just that area with a bit of setting spray onto the same sponge I used to apply their foundation. Voila!
Option Four: This option is also tricky for the same reasons as Option Three. It’s impossible to advise for this method without first seeing your skin but I can give a general recommendation and let you adjust it to fit your specific needs. You’ll apply your foundation as you usually do but you’ll skip the powder altogether if your skin is dry and/or has a lot of texture (wrinkles). You’ll allow your foundation to dry completely before you spray the main areas with setting spray, followed by spraying the sponge that you applied the foundation with and stippling the areas of your face with the least amount of wrinkles. If you have very heavy wrinkles around the eyes, then you’ll just leave that area alone. You will need to check your foundation for creasing from time to time, so bring a compact mirror with you. If you do notice some creasing, then just tap the area with a finger to re-blend. Bear in mind that the more often you do this, the more of the foundation you will remove. If it’s really noticeable then you might need to apply a tiny bit of foundation in the area to “patch” it. Unless you’re going to be in extremely warm weather, or you’re going to be engaging in heavy activity such as dancing, you should probably be okay. I use this method with clients who have a lot of texture if they are coming in for a photo shoot. I know the makeup will only be worn for a few hours and that they won’t be doing any dancing. This is the preferred method if you’re only going to be wearing makeup for a few hours.
If you’re so inclined, you may experiment with different combinations of these four methods. The entire point is to avoid powdering, at least in the areas with the most wrinkles. If you start to get shiny or notice your skin “oiling up,” then use some blotting tissues to soak up the oil and dull the shine. Blotting tissues are readily available in most makeup aisles, but you can also make your own with tissue paper (not Kleenex!) cut into small squares. You can also keep a folded-up paper towel in your purse, or even a bar napkin, but definitely not a Kleenex or toilet tissue (both will leave fuzz or “bits” behind). It’s important to “blot” and NOT RUB!
Lastly, it’s never too late to start a good skincare routine. You may think that once you’re wrinkled then there’s no “fixing” it and you would be mostly correct. However, if you begin exfoliating regularly, at least twice a week, and using a good hydrating moisturizer on a daily basis, you will significantly improve the appearance of your mature skin. There are a lot of great moisturizers on the market that won’t break the bank and are very effective, and my favorites are Neutrogena, Cerave, L’Oreal, Kiehl’s, and ELF. If you are interested in learning more about skin care, I’ve written a helpful guide on the subject as part of a 9-book series.
Note: My favorite setting sprays are Kryolan’s Fixing Spray (expensive but the best) and Urban Decay’s All Nighter but just about all makeup brands make it now. If cost is an issue, then I recommend ELF’s “Stay All Night” (Blue or Green) Setting Sprays.
Good luck!
Category: Transgender How To
